+1 Stone Skipping Getting Started Guide
Learn the train → throw → spend loop before your first Rebirth.
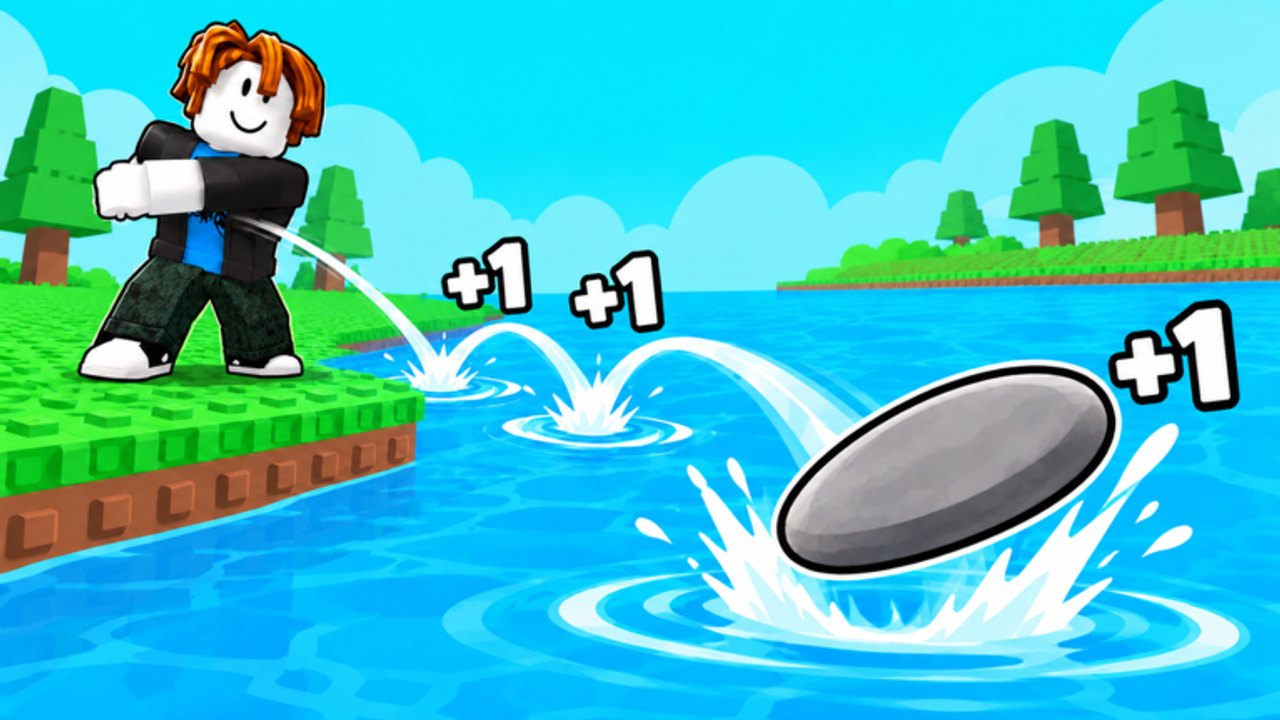
What +1 Stone Skipping is
+1 Stone Skipping is a Roblox incremental from Meow Labs (launched September 5, 2026). You raise Skill, skip a stone across a multi-zone river, earn Wins, and invest those Wins into better throwables and pets. The loop is simple on purpose: stand on a training pad or throw to gain Skill, press Throw on the main river when you want Wins, then shop. When the Rebirth meter hits 100%, soft-reset for a permanent Skill multiplier and a higher level cap. Stones and pets survive every rebirth, and rebirth, stone, and pet bonuses all stack.
This page is the first-hour playbook. For button layouts and HUD labels, keep Controls & HUD open. For ranked buys later, use the Stones Tier List and Pets Tier List.
First five minutes
- Join the experience and move with WASD. Jump with Space. Use E to interact with shop and pad prompts.
- Walk to a side water body. Your avatar should start auto-training Skill without spam-clicking.
- When Skill feels higher than spawn, face the big river and hit the on-screen Throw button. Watch which zone the stone dies in—that zone sets your Wins payout.
- Open the Shop. Scroll to the bottom and redeem every active entry on the Codes page. Skill, Win, and Luck potions plus free Wins or a Common Egg are common rewards.
- Spend your first Wins on the next stone type, not the priciest egg. Early stones are cheaper and raise Skill additively with an immediate throw impact.
That sequence alone gets you into the real game: better stone → faster Skill → farther zones → more Wins → next stone → first rebirth.
Training versus throwing
Training pads beside the hub are for raw Skill. Throwing on the main river also grants Skill, but its main job is converting distance into Wins. Early on, park on a pad until you can clear the next river zone reliably, throw a few times to bank Wins, buy the next stone, then return to a pad. Do not stand at the river throwing for hours with a starter pebble while a cheap +Skill stone sits unsold in the Shop.
As you rebirth, stronger pads unlock. Community runs often unlock a 4x training station after about two rebirths and a 10x station after roughly five. Always migrate to the highest pad you own; leaving a 10x pad unused is free progress wasted. Details live in the Rebirth Guide.
Wins, stones, and pets
Wins are the spend currency. Farther river zones pay more. Clearing the final zone of the current World unlocks the next World with harder Skill checks and fresh shops—see Throw Farther and Updates when new Worlds drop.
Stone types add Skill. They are the correct early priority because they cost less than eggs and change every throw immediately. Mid-game stones stay useful; late weird throwables (including a donut) push additive Skill even higher. Full buy order notes are in the Stones Guide.
Pets multiply Skill. Hatch eggs in the hub for random companions. Eggs feel expensive before your first few rebirths, so delay heavy hatching until stones and a rebirth or two are secured. When Wins flood in, hatch often—high-rarity pets outscale additive stones in the endgame. See the Pets Guide.
Potions and daily boosts
Three potion types matter:
- Skill Potion — roughly 2x Skill gain for about ten minutes. Drink before long pad sessions or rebirth recovery.
- Win Potion — roughly 2x Wins for about ten minutes. Drink when you can already reach high river zones.
- Luck Potion — roughly 2x luck for about ten minutes. Save for egg hatching sessions.
Claim daily rewards when they appear, then stack a Skill Potion on your best pad. Codes often gift the same potions—check Codes whenever Meow Labs posts a milestone code.
First rebirth checkpoint
Watch the percent under the Rebirth button. At 100% you are hard-capped: more pad time does not raise Skill until you rebirth. Open the menu and confirm. You drop to level 1 / Skill 1, but you keep stones, pets, Wins spending progress, and you gain a permanent Skill multiplier plus a higher cap. Recovery is usually minutes—or seconds—on a good pad with potions. Never sit at 100% “just grinding.”
After rebirth one or two, reassess: upgrade stones again, unlock the next training station, then start a modest egg budget. Cross-link your loadout against the Tier List Hub so you are not buying lateral stones while a clear upgrade waits.
Common beginner mistakes
- Buying eggs before the next two stone tiers.
- Ignoring codes at the Shop bottom.
- Throwing on the river with low Skill instead of pad training first.
- Sitting at a 100% Rebirth meter.
- Forgetting that rebirth, stones, and pets stack—you want all three lanes filled, not one maxed in isolation.
Where to go next
- Deep rebirth timing: Rebirth Guide
- Distance and Worlds: Throw Farther and Worlds Guide
- Potion timing (Skill / Win / Luck): Potions Guide
- Shop order for throwables: Stones Guide
- Egg and multiplier plan: Pets Guide
- Full guide index: Guides Hub
- Optional automation notes: Scripts
Once codes and first stones are handled, skim Potions so you do not waste free 10-minute buffs, and Worlds so you know that clearing the final river zone — not comfort-farming mid water — unlocks the next map.
Play the loop clean for an hour, rebirth on time, and the rest of the wiki becomes optimization instead of confusion.
Frequently Asked Questions
Quick answers to the most common questions.
What should I buy first with Wins?
Buy the next stone type before expensive pet eggs. Stones are cheaper, additive, and improve every throw immediately in the early game.
How do I raise Skill quickly as a beginner?
Stand on the best unlocked training pad, use a Skill Potion if you have one, equip your strongest stone, then throw on the river only when you need Wins for the next upgrade.
When should I Rebirth the first time?
As soon as the Rebirth meter hits 100%. Extra training past the cap does not raise Skill until you reset for the permanent multiplier.
Where do I redeem codes?
Open the Shop, scroll to the bottom codes box, paste an active code from the Codes page, and confirm.